PROCEDURE DETAILS FOR LABIAPLASTY IN THE OFFICE
“How do you do a labiaplasty” is question I answer everyday. Although it is not rocket
science it takes the precision of an engineer, the eye of an artist, and the hands of a
drummer. The steps are simple but the execution of the steps can be daunting. If you
are healthy, with no major medical problems, and do not have extreme anxiety, you can
choose to have your procedure in our comfortable office. Let me give you an overview
of the whole series of steps once you have decided on getting a labiaplasty in the
office. Summer surgeries are specially beautiful in Laguna Beach this time of year!
Take a look on how we do it at The Alinsod Institute! We developed the protocol used around the world right here! This week’s newsletter is free for all so enjoy!
Before you came in for your surgery, my staff had already given you pre-op
instructions days before either live or via Zoom or Face Time. You would have had a
light breakfast or meal and drank a litter of water. You can even have your coffee!
You would already have the anesthetic cream you picked up or were mailed.
You would already have picked up the pain pills, antibiotics, and estrogen cream from
your pharmacy. You would have taken your first antibiotic pill the morning of your
surgery. You would have placed the numbing cream over the labia and maybe into the
vagina a bit. You would have covered the numbing cream with Saran wrap and worn
your panties or panty hose over the Saran wrap to prevent messiness and loss of
anesthetic medication.
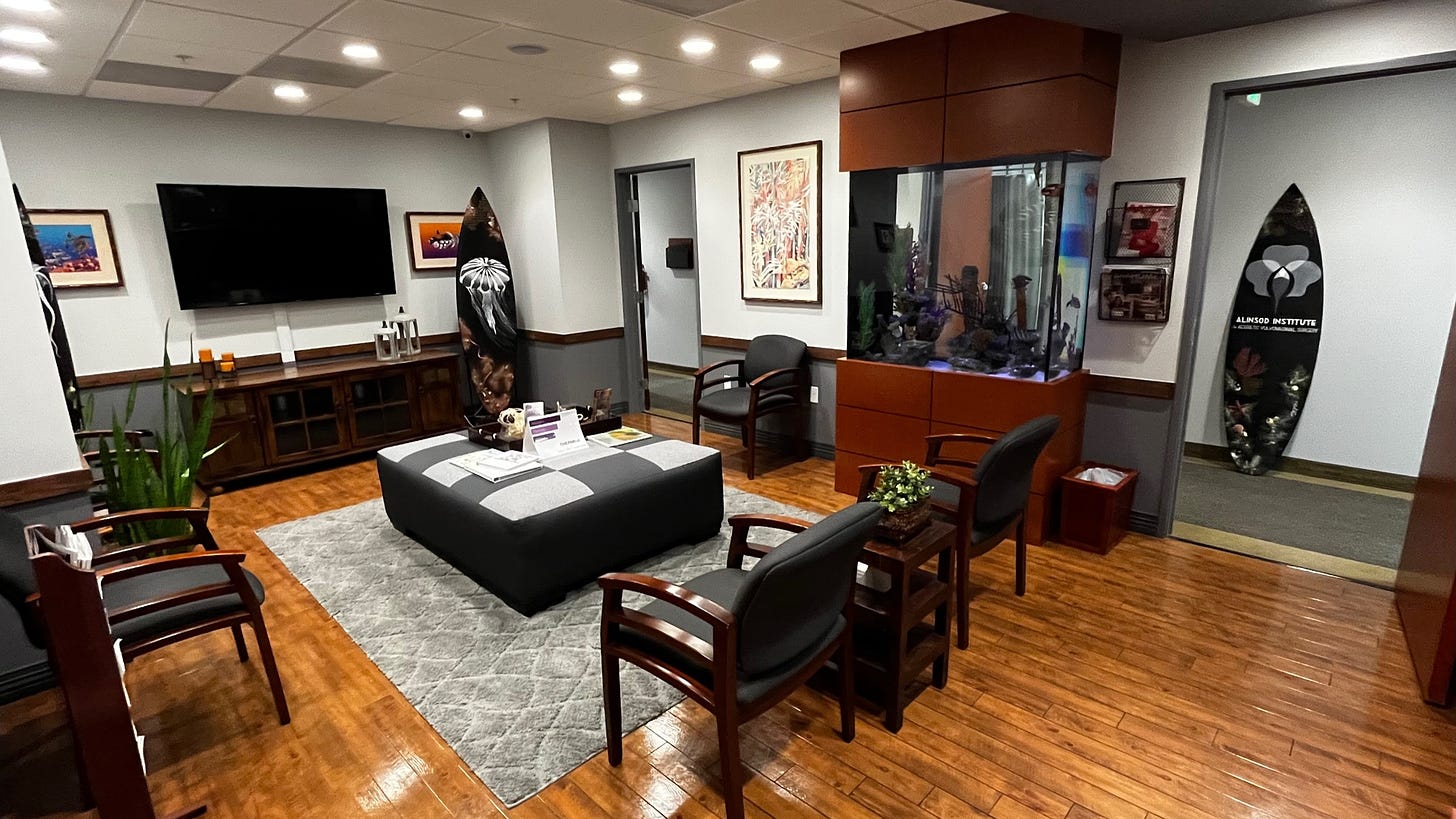
My staff will welcome you and bring you into your own private room where you can
relax a bit away from the rest of the world. My medical assistants and nurses will
make sure you have had all your questions answered and will ask you the basics such
as what are you pregnant? They will check your vital signs, make sure your bladder is
empty, and check a pregnancy test. This is typically the time I come in and welcome
you, review and explain the procedure in detail, and go over the risks, benefits, and
options one more time. Finally, you sign your consent once comfortable and
knowledgeable that your questions are fully answered and that you indeed want
to continue with surgery.
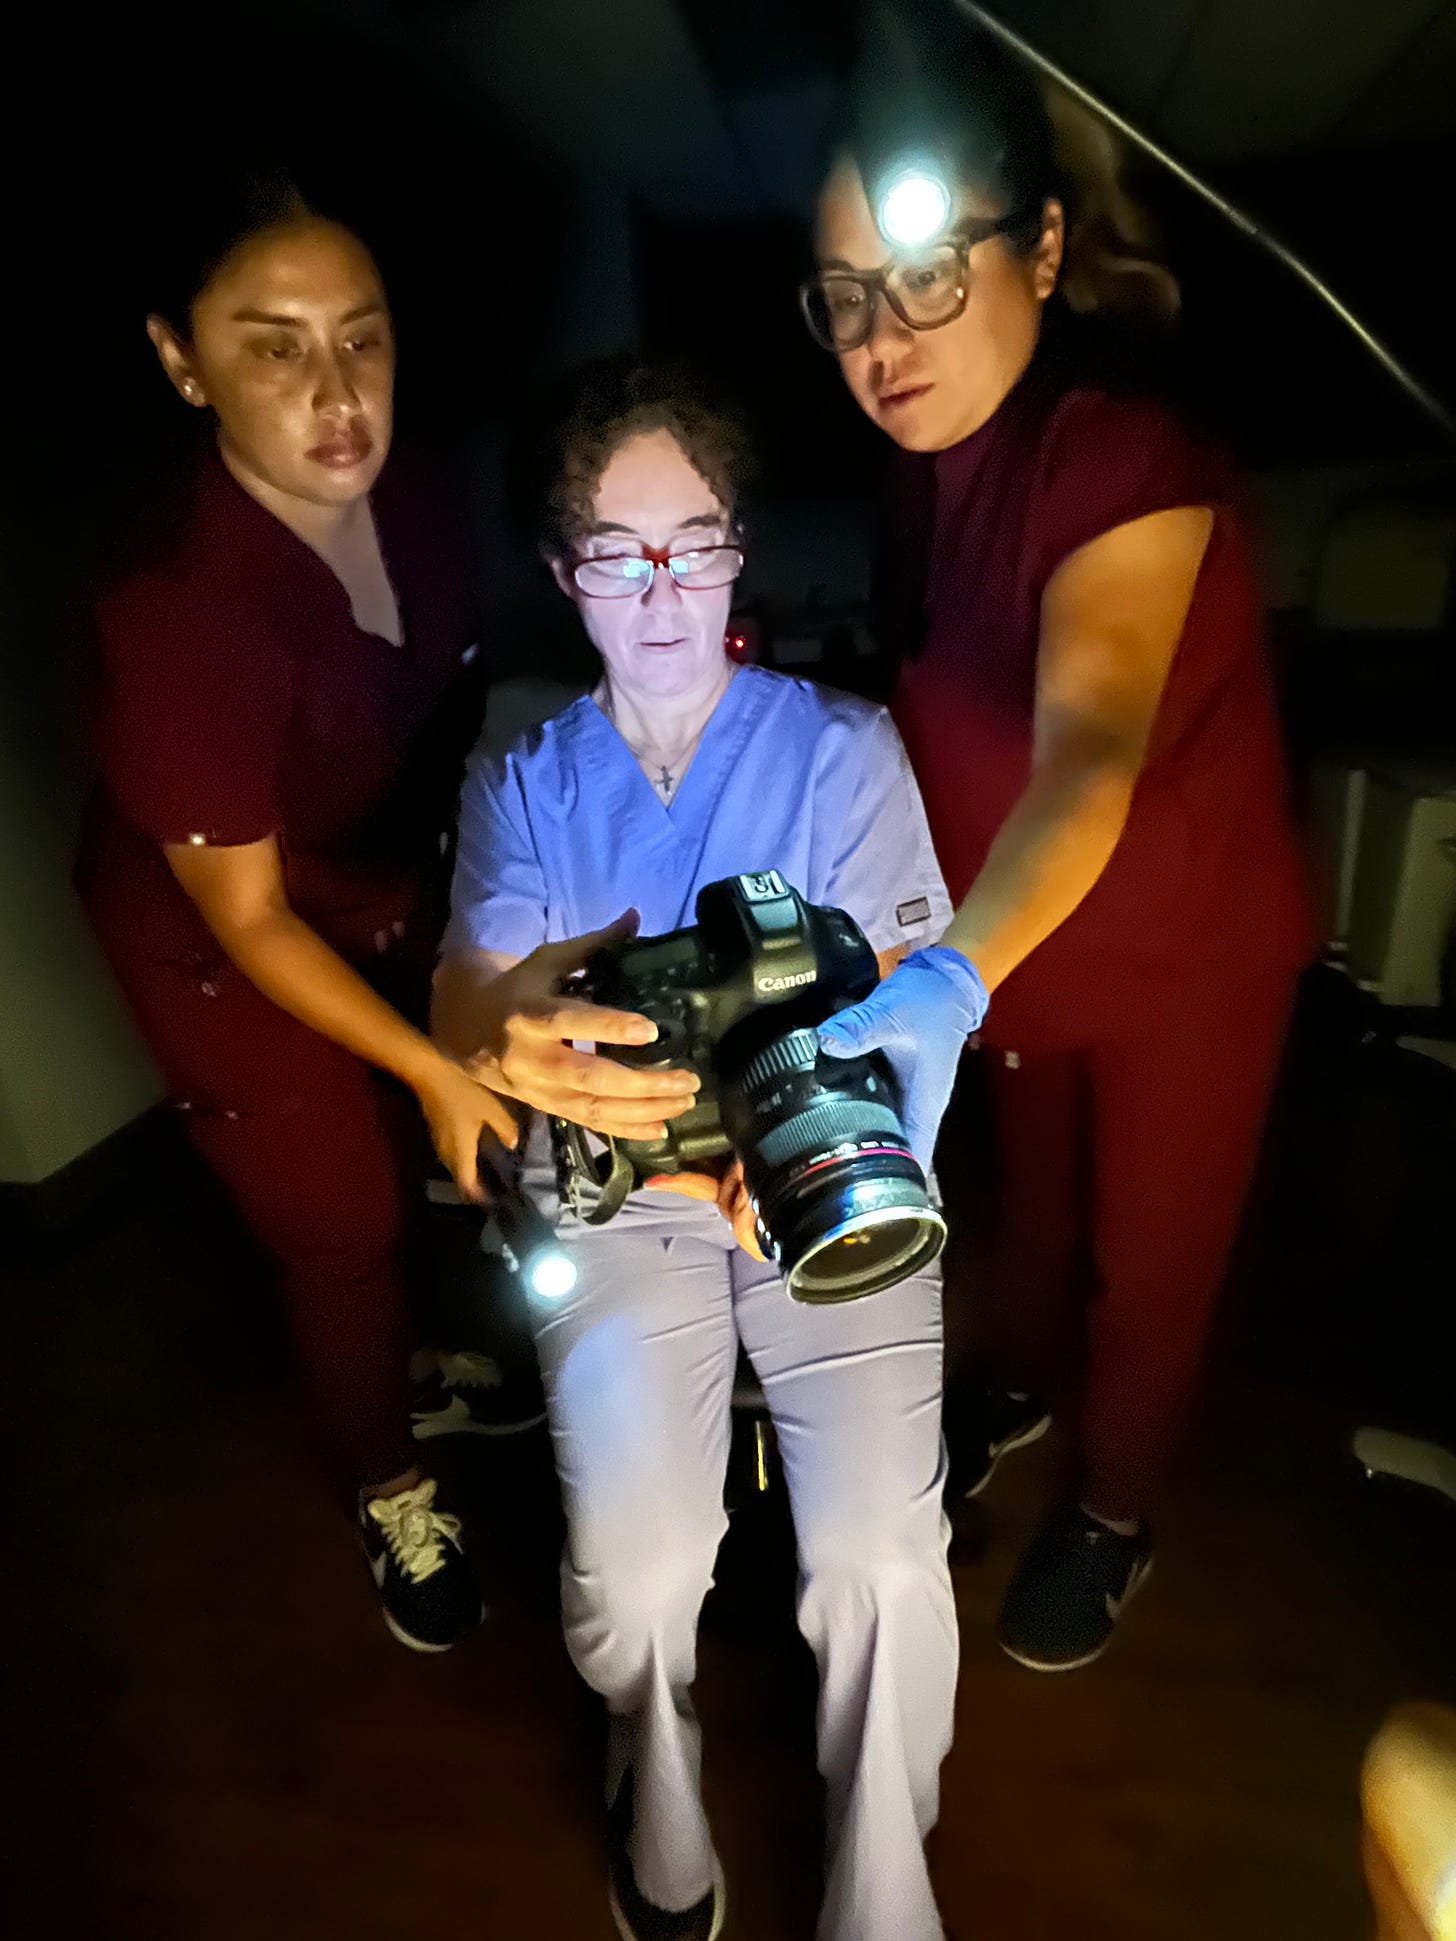
We then go to our photography room and take your “Before” pictures. We are
fanatical about taking quality photographs for you. You will appreciate the efforts
exerted in our quest for quality. Weeks later when you look at your own “After”
pictures and compare the two you will understand our fanaticism.
Usually we give you an oral anti-anxiety drug, like Ativan or Valium, right after your
consent is signed. We also give you an oral nausea medication right at the beginning
to fend off any nausea during the procedure. Usually Zofran or Compazine. Next
come oral pain meds like Demerol or Dilaudid. Gives you that warm fuzzy feeling
slowly and very comfortable. Notice we do not give you an I.V. at all. It is such a
safe protocol I developed and modified over the past 20 years.
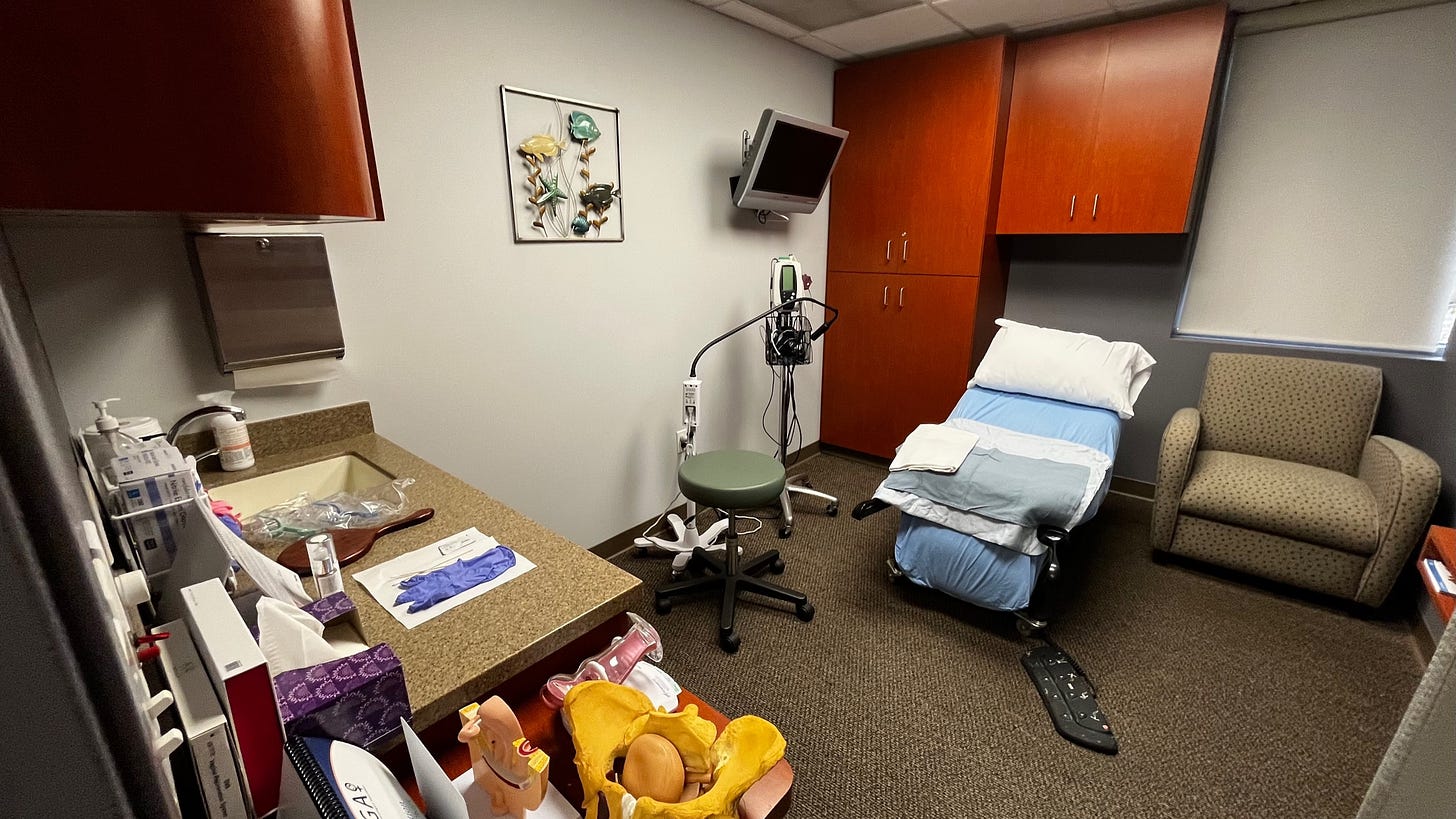
After you receive all the medications you will go to the procedure room and lay in a
comfortable bed. We put monitors on you and just watch you for several minutes to
see how you react to the medications before we actually start doing surgery. This is
probably the time you feel like you just had a couple of Margaritas or Martinis!
“Comfortably Drunk” is what we call it. You are easily talking to me, responding to
questions, watching FOX News on TV, listening to your iPod, or even reading a
magazine. If you are a “cheap date” and feeling tired and comfortable after one set of
shots then we start with surgery. However, if you are fully awake and not showing any
signs of being “Comfortably Drunk” we may choose to give you a second dose of
narcotics. By the way, for those who do not like shots at all, we can give all but one of
the medications orally. You have to plan a bit ahead because the oral meds take a bit
longer to take effect. We do all theses labial surgeries without med at all if you want
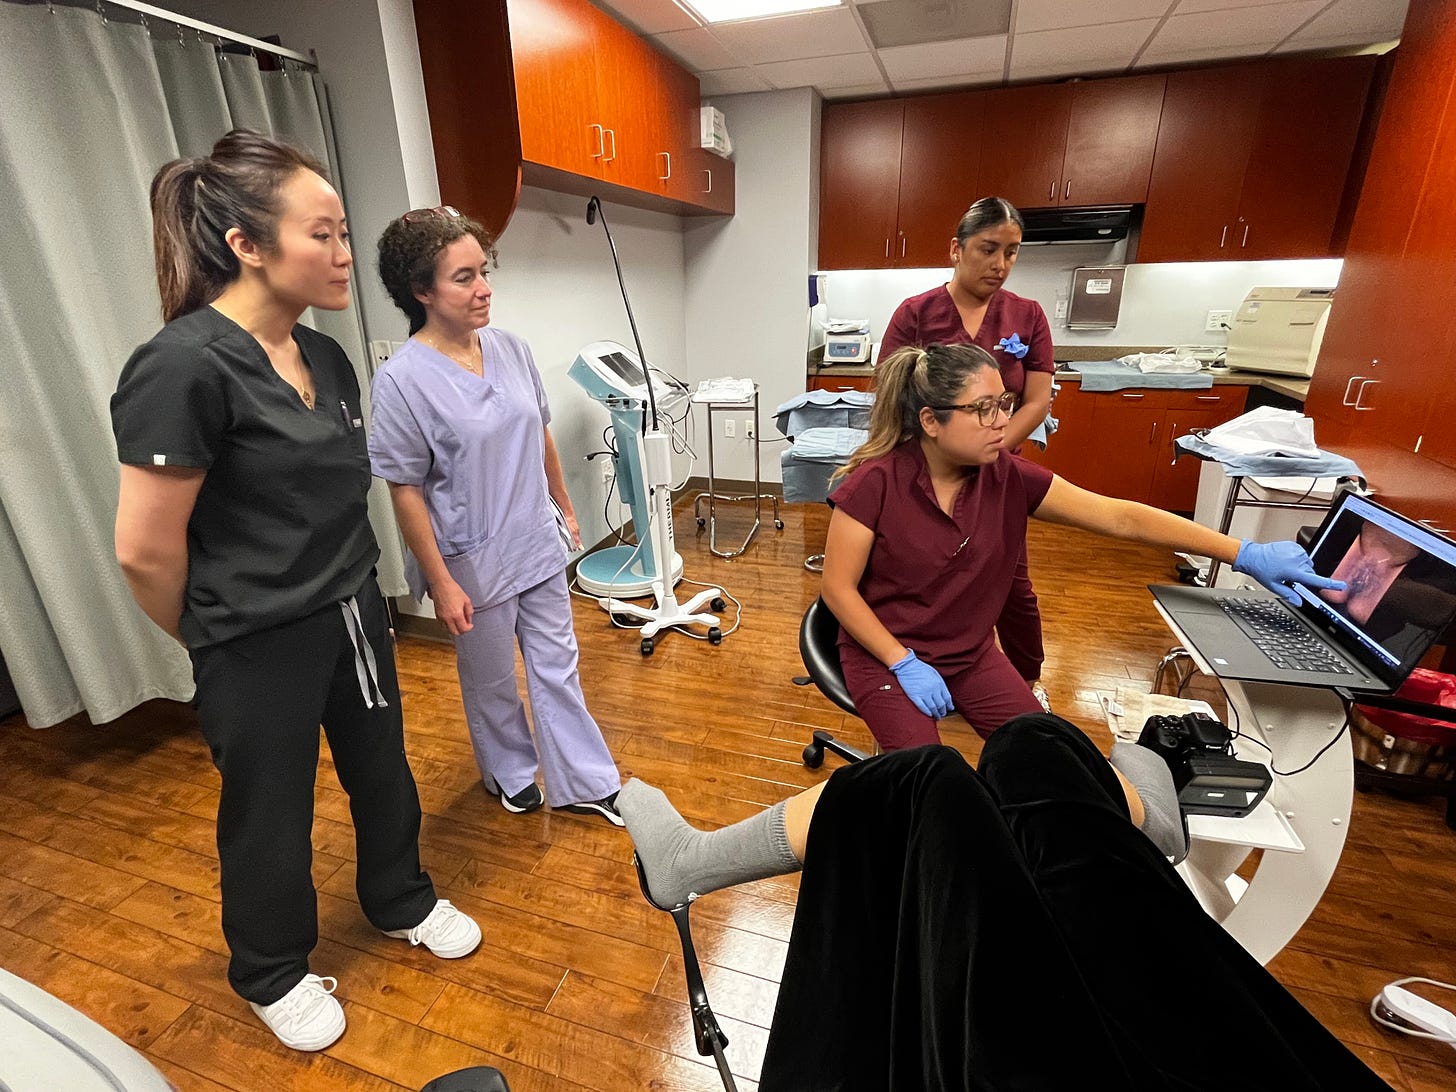
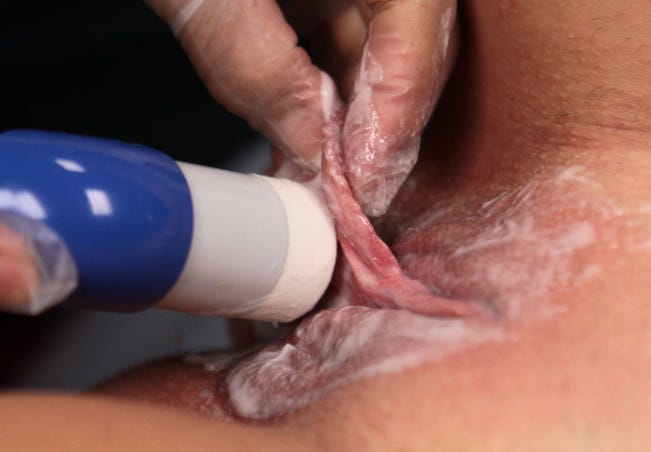
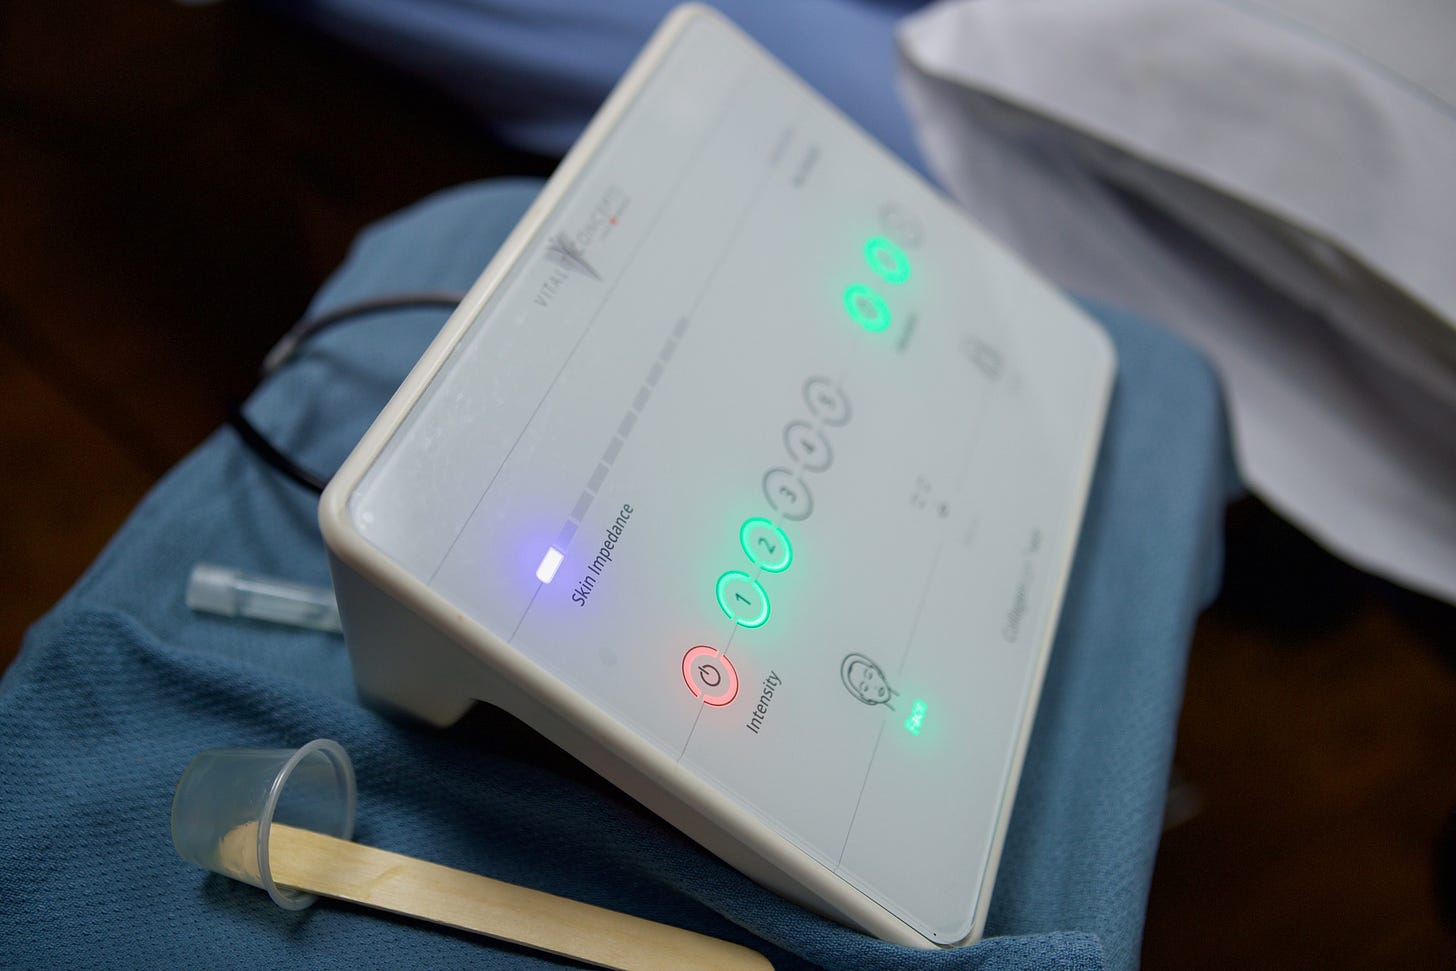
zero medications. We just plan this ahead with you. We do have this magical device
shown below called Predictive Permeation that opens up the water channels in your
skin to allow deeper penetration of numbing cream.,
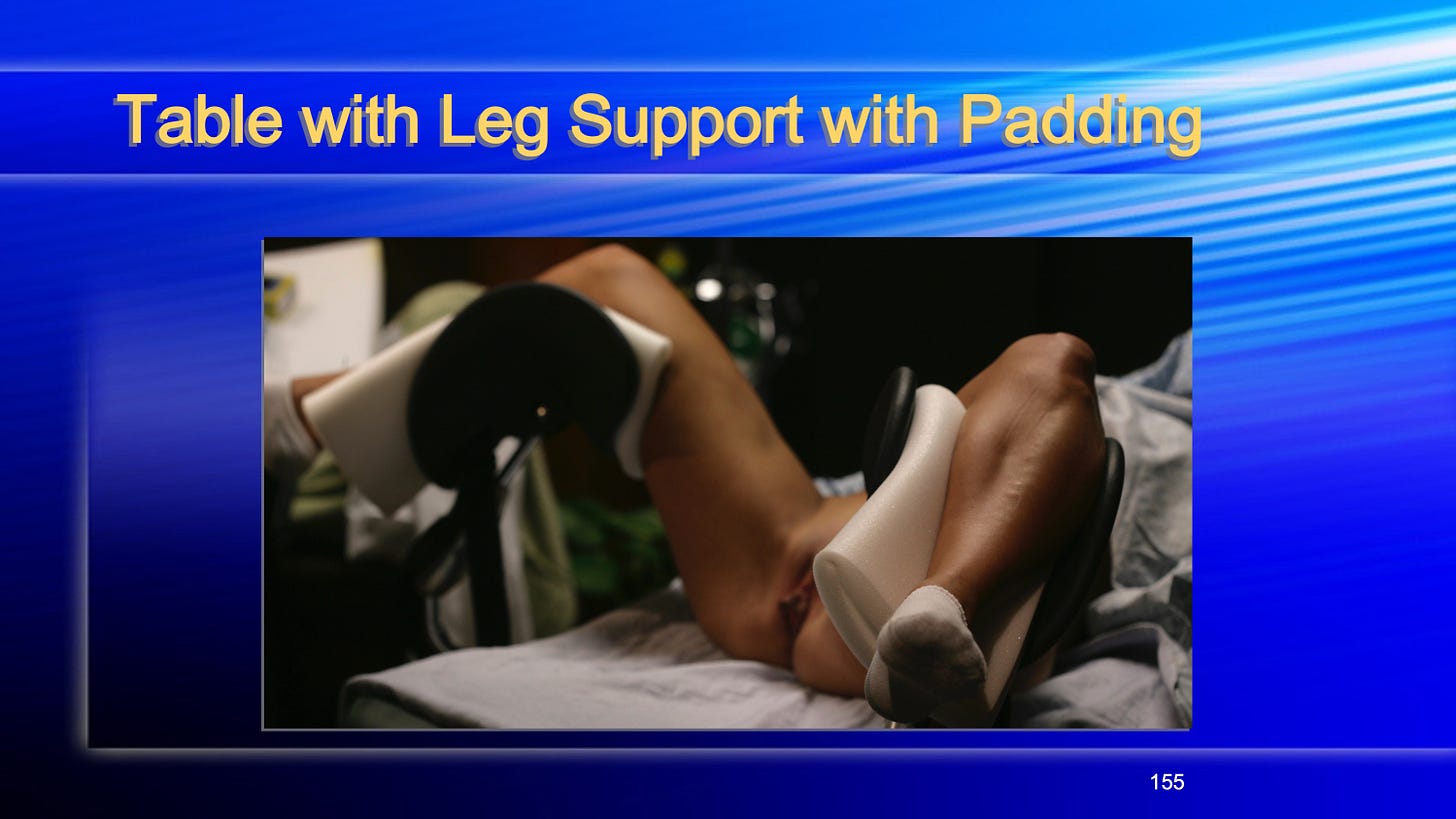
Now is the time I place your legs in its proper position just like you were getting a Pap
smear. Foam padding to support both legs entirely.
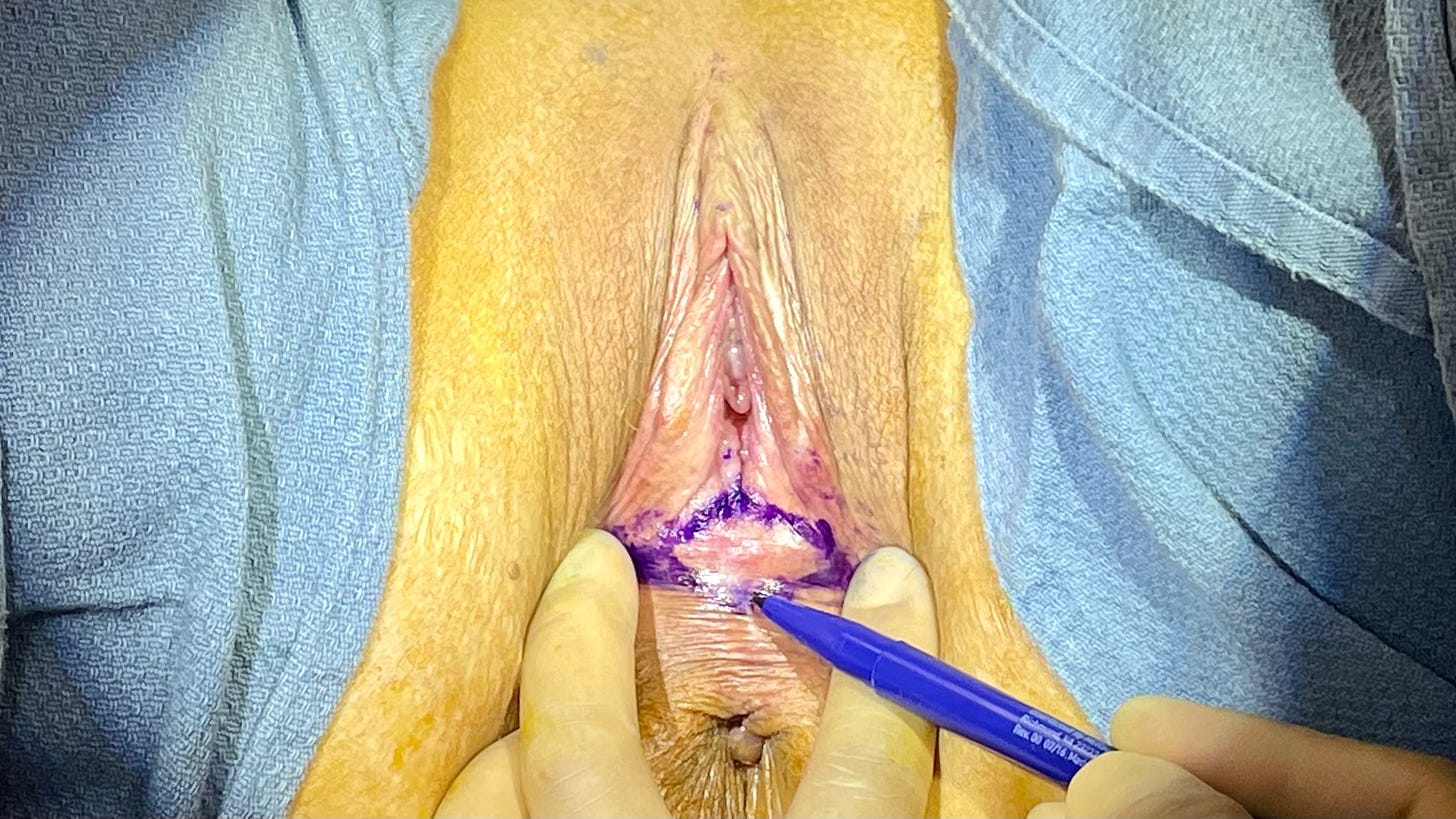
I wipe off all the numbing cream and use my markers to draw and outline the
surgical plan. Since your vulva is numb it usually feels a bit strange to see someone
touching you but you can’t feel it. We would have already talked about the look you
want and how much or how little labia minor or majora to remove. You have a hand
mirror during this process to help me define and draw out the plan of action. Next is
the cleaning and prep work with betadine or chlorhexidine to sterilize the surgical field.
Soon to follow is the covering blue drape that ensures a sterile field. You are now
ready for the actual start. I will double and triple check all my tools and settings.
This next step is the most uncomfortable but also the shortest and quickest. I have to
place local anesthesia with a very small needle on the areas I am working on. Typically,
this is the labia minora or majora, clitoral hood, and maybe the introitus (the very
beginning lower region of the entry into the vagina). You are allowed to cuss and swear
during this minute! Go ahead, I won’t take it personal. If you are having a vaginoplasty
also then I have to numb up the inside of your vagina. That is an extra thirty seconds.
This is when I get compared to a dentist and my maternal heritage is put into question.
I then check all areas to make sure you are completely numb. If you are not feeling
anything sharp then we go to the next step.
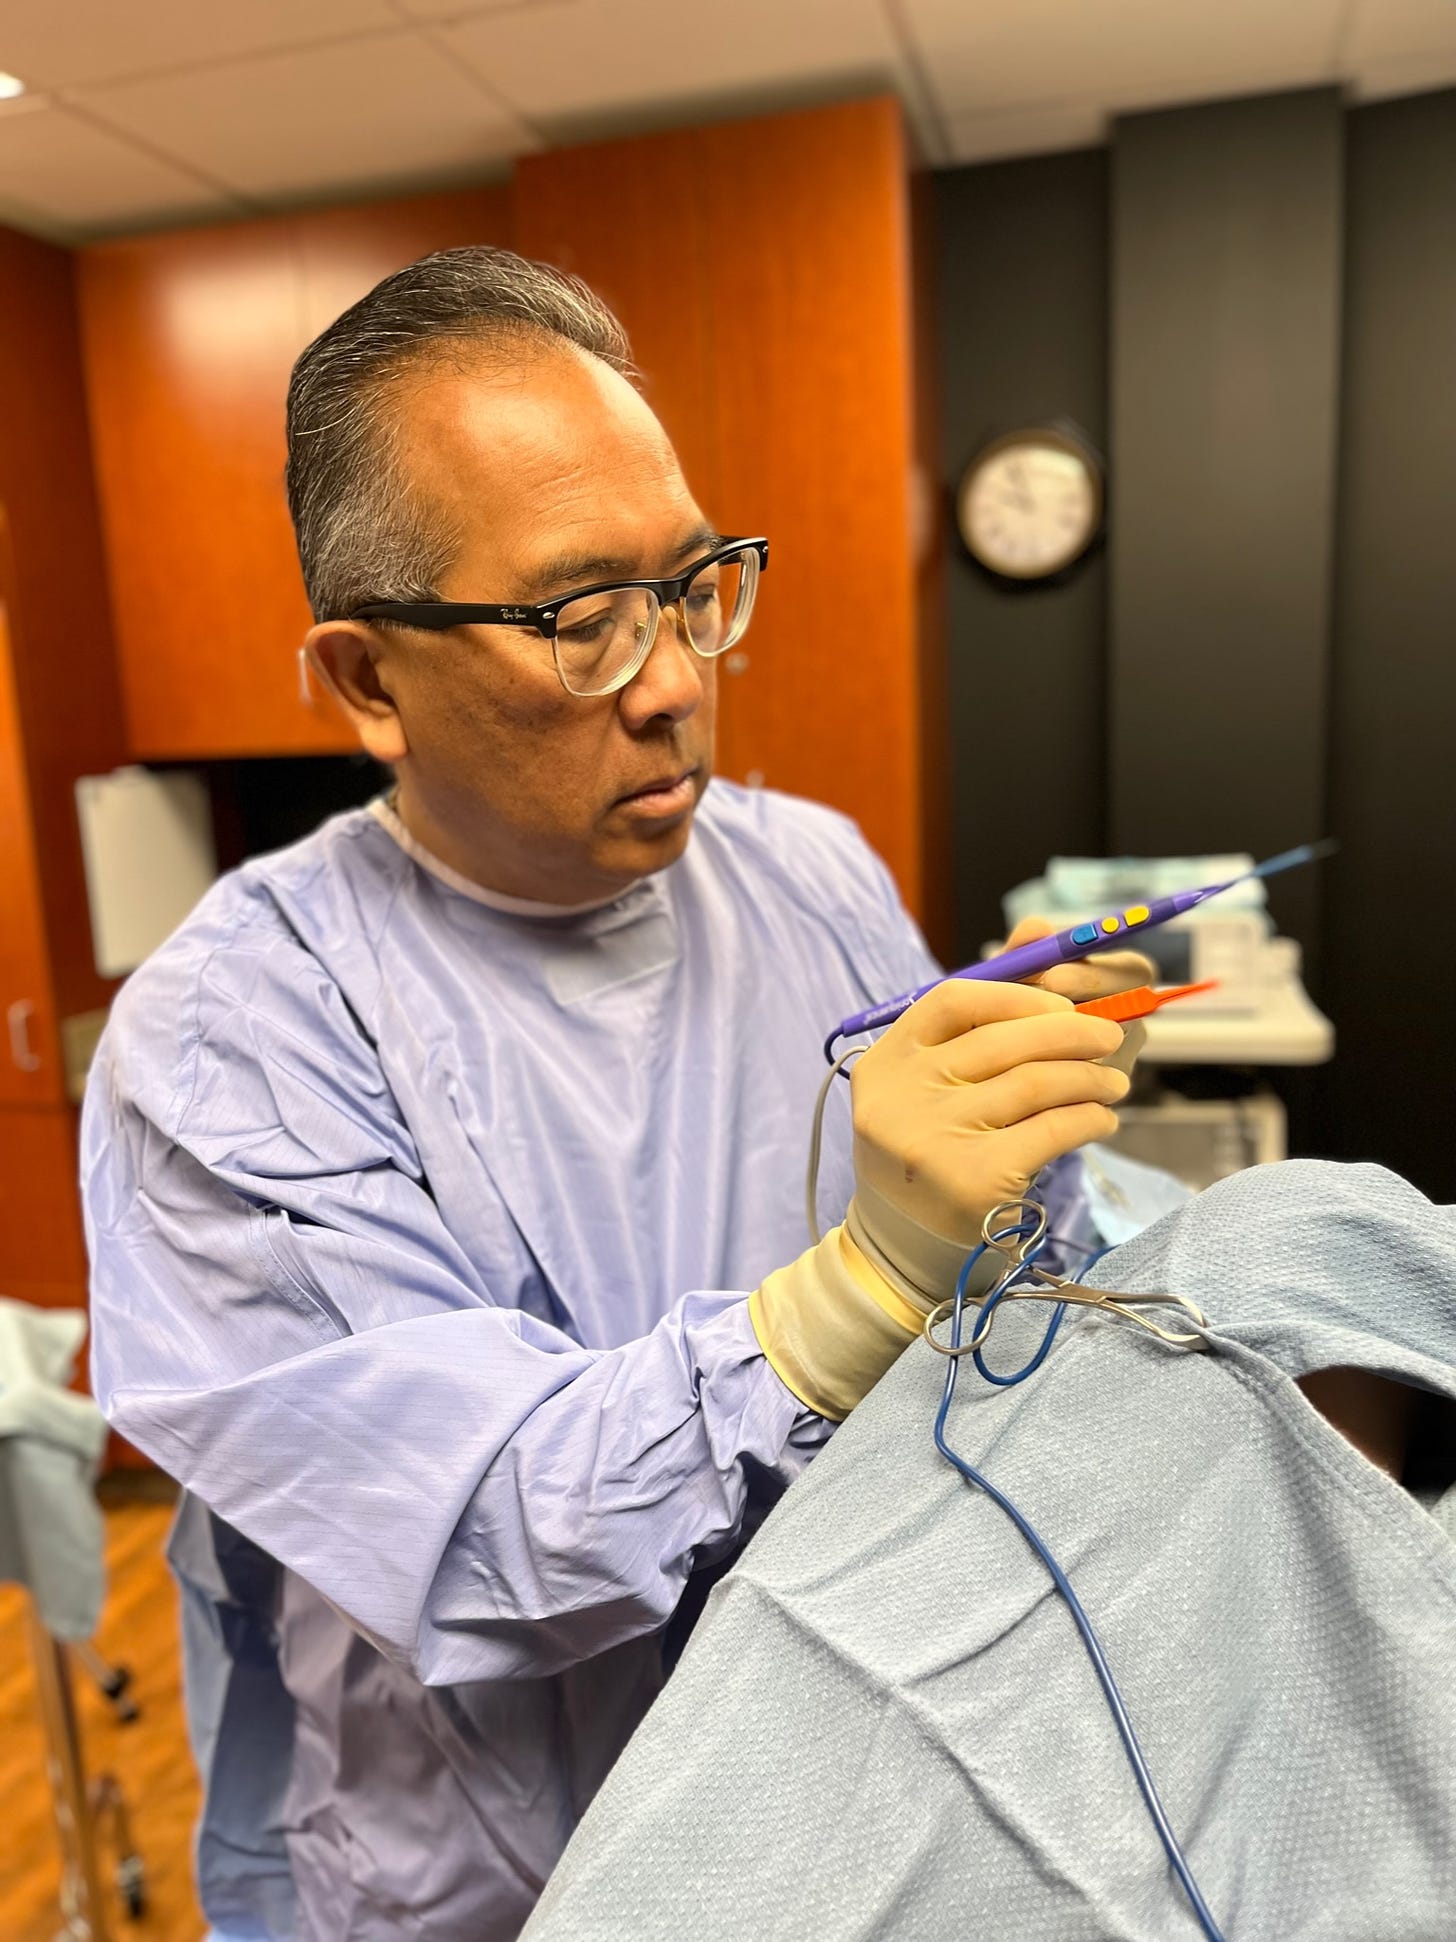
Next, you hear the whirl of the smoke evacuator or the increase volume of the TV or
stereo. I go ahead and start the delicate and carefully planned surgery. I follow the
surgical markings on your labia with the minimally traumatic radio surgical device. It
is such a fantastic tool because it is a relatively cool tip that has lateral thermal
damage measured in microns instead of in millimeters when one uses a 980 Diode
laser or CO2 Laser you read about when a surgeon does “laser” surgery to rejuvenate
a vagina. Radiofrequency is without comparison in its finesse. Since I first started
using this modality in 2005 I have noticed more and more plastic surgeons and
gynecologists make the switch. The current Best of Breed is made by Soniquence. To
help me with certain bleeding sites I also have a ConMed 5000 unit in my office
surgical suite. It is a superior cautery unit. There are other amazing cautery units out
there.
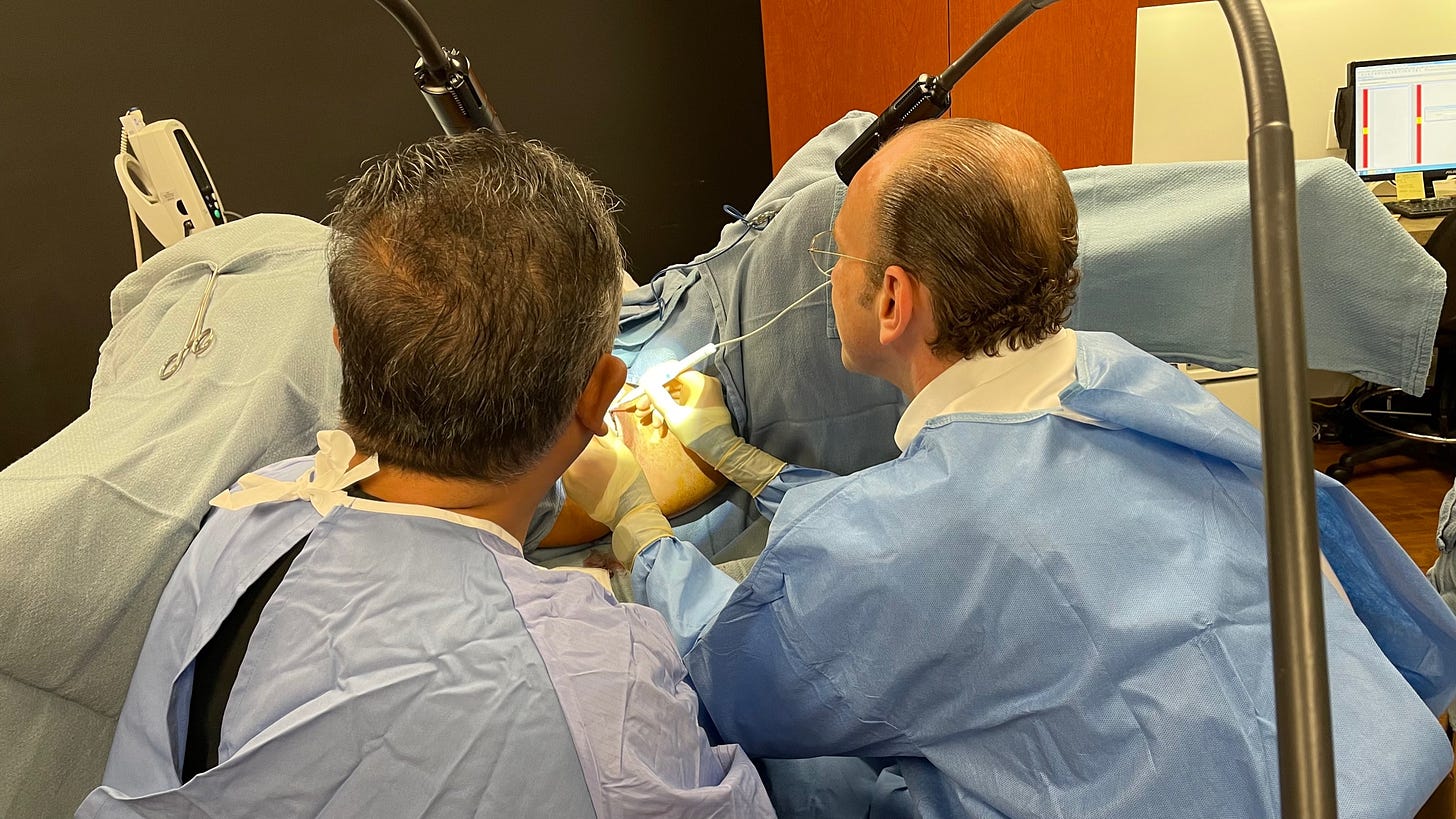
There are two basic techniques to labiaplasty of the labia minora. I am partial to one
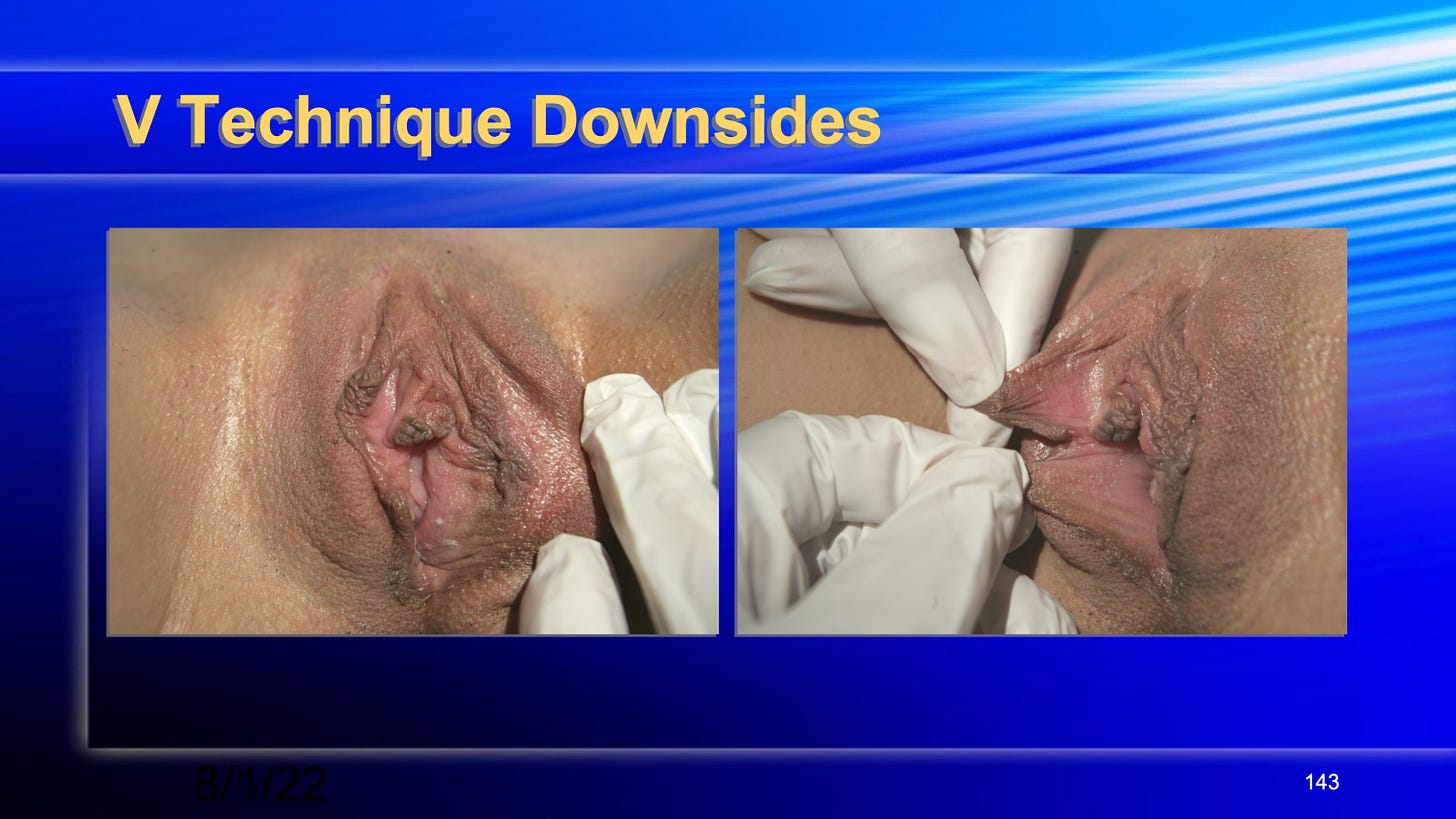
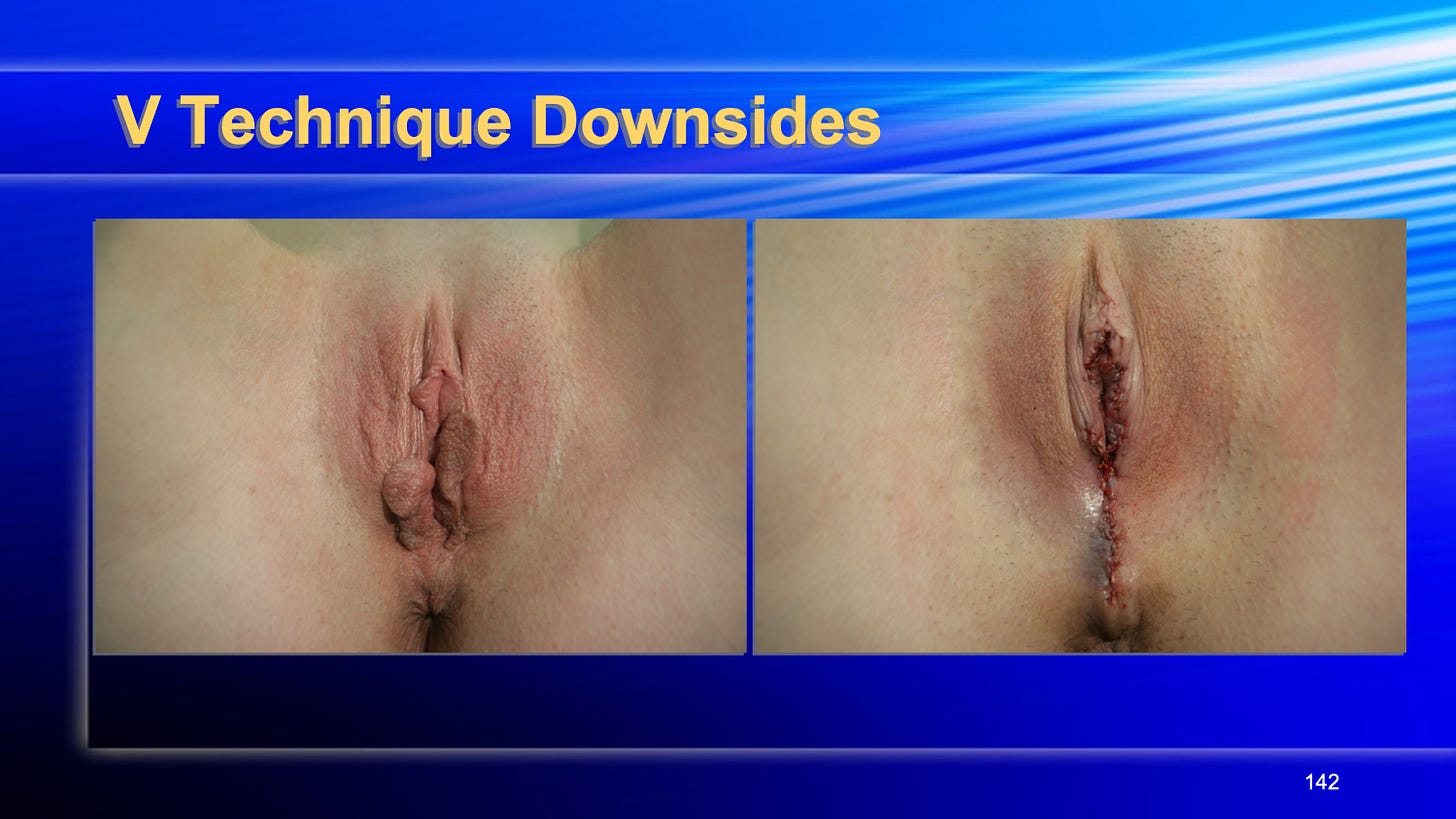
and avoid the other like the plaque. The “V” technique discussed on some reality TV
shows is one preferred by many plastic surgeons. Unfortunately, it is wrought with
complications in my opinion. The edges of the V are brought together with fine sutures
but they unfortunately pull apart often enough for me not to feel comfortable with the
technique. There is too much tension and not enough suture strength; too much
tension and a variable blood supply to regenerate the edges together. I have to repair
these “labiaplasty-gone-bad” cases from other surgeons often enough to realize the
faults of this technique. Unless you want to keep the original look of your labial edges
I would avoid this Wedge technique in general.
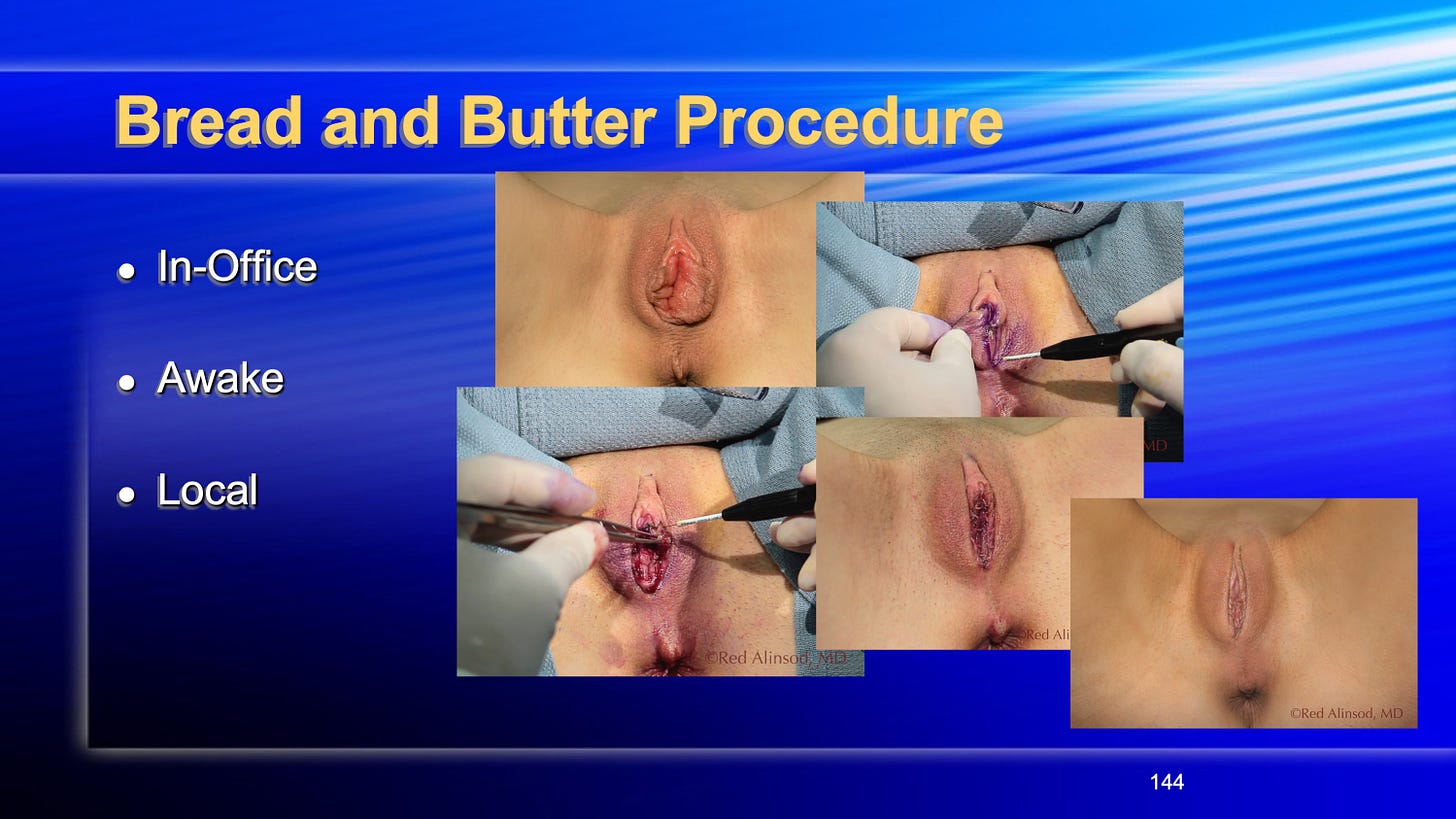
Most gynecologists use the technique that sculpts the edges shown belowto the size
desired without the high-tension “V” incision. This is called a curvilinear excision, my
Bread and Butter Procedure.
There is less wound breakdown and fewer problems with restoration of blood flow. I
personally favor this sculpting technique because of its precision and flexibility. You
do not have to guess how the top will line up with the bottom. The edges always line
up. The knock on this technique is that there are the color discrepancies of the inner
labial lips as compared to the outer labial skin. This is true in the short term but over
the long term the color issues are nonexistent because nature has a way for the
edges to eventually match in color. Once all undesired labial tissues are removed the
suturing begins. Fine but strong sutures are used in several layers to ensure proper
wound healing. Many various suturing methods can be used but I prefer to stay with a
tried-and-true technique I have developed over the years. This multi-layer approach
is the technique I teach all my trainees. It is the safest method of all to ensure wounds
do not open up and at the same time preserving the most natural of looks.
So now you are pretty much done. You are comfortable and awake. I will take off the
drapes, clean you up, and give you a mirror to view your new you. A few pictures
follow, you go to your private room and change, have a glass of water if you wish, then
go home with your driver. Your post-op instructions and handouts will be reviewed just
one more time before you leave and go off painlessly into the outside air. Your post-op
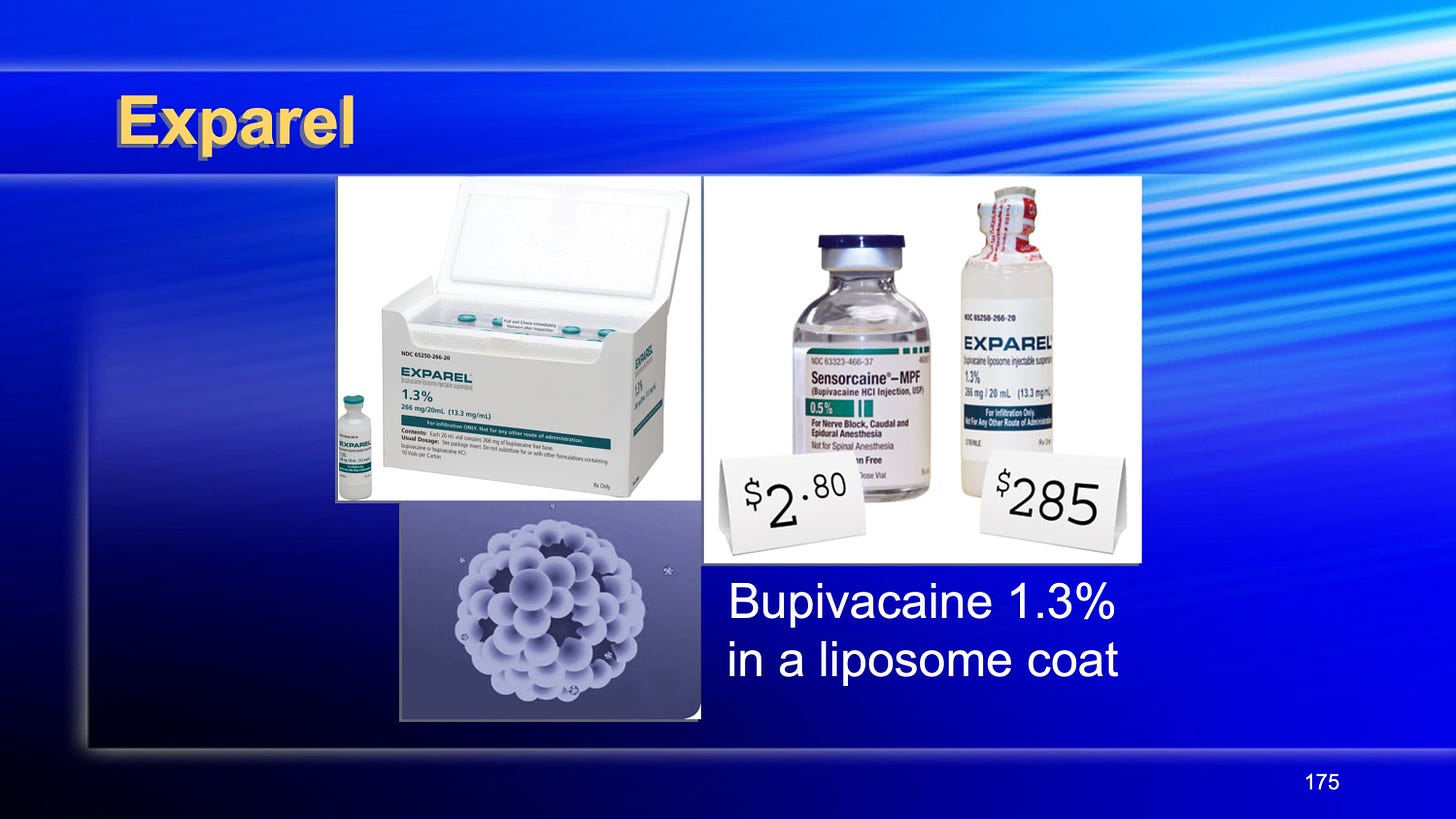
appointment will be set up. If you want a special anesthetic that lasts 3-5 days just let
us know and we can inject Exparel before you go home. It is a bit expensive!
Be sure to use your pain meds and ice packs for your comfort. Be a princess and
don’t do too much. You can walk and eat what you like. You can drive the next day.
Read the section on “Recovery Time” and you will get a good feel of what to expect in
the weeks to come.
For more details go and read my Patient Brochure Here.


